
IT Mapping
What to actually do with an RVTools export
Your RVTools export is an accurate snapshot of your VMware estate. Six checks that take an hour in total, what the export can't tell you, and how to cross it with the rest.

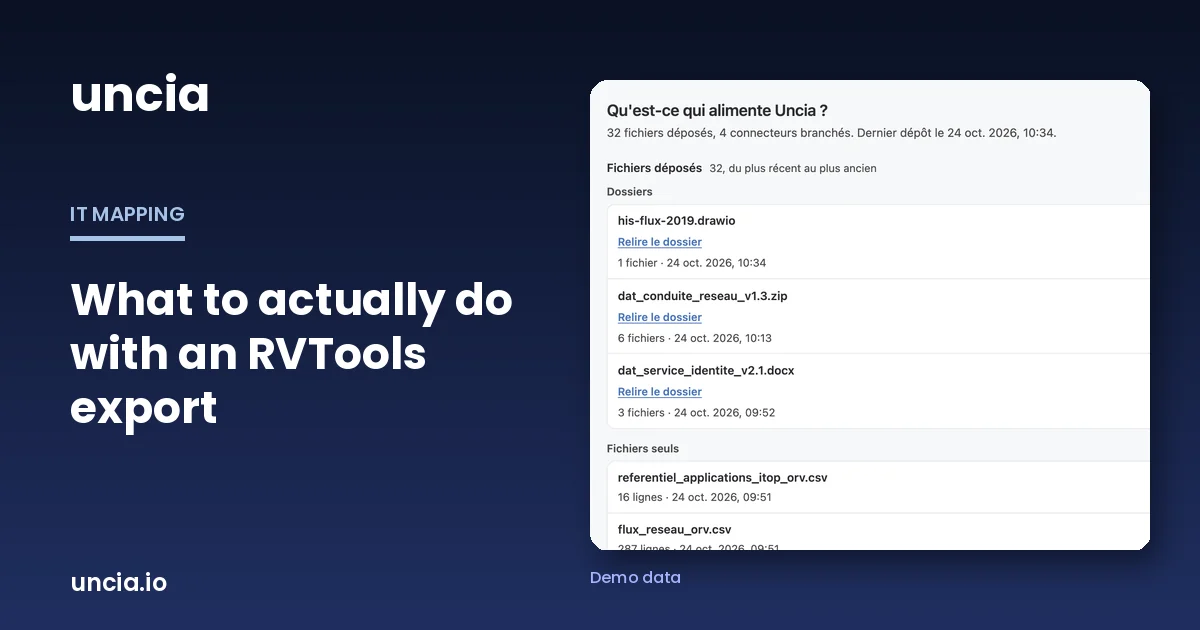
Ask a VMware admin for an inventory and you’ll usually get an RVTools export within the hour. Ask what happened to the last one and you’ll often get a shrug: it was pulled for a license review or a hardware refresh, it answered one question, and it has been sitting on a file share ever since. It deserves better. The export has no idea what your machines are for, and everything in it was true at the minute it ran. Few documents in an IT department can say the same.
What’s in the export
RVTools connects to vCenter or to an ESXi host and dumps the inventory into a workbook, one tab per topic, each tab name starting with a “v”. The ones that matter most for understanding an estate:
- vInfo: one row per VM, with power state, host, cluster, resources, primary IP, annotation, and two OS columns we’ll come back to.
- vHost: ESXi hosts, their version, hardware and VM count.
- vCluster and vDatastore: clusters and storage.
- vNetwork: VM network adapters, networks and addresses.
- vSnapshot: snapshots with their date and size.
- vTools: VMware Tools status inside each VM.
- vHealth: warnings RVTools raised on its own.
Column names shift a little between RVTools versions, so open your own export before you build anything on it.
Six checks that take an hour
No project needed, just a spreadsheet and a filter.
The two OS columns. vInfo gives you the OS according to the VM’s configuration file and the OS according to VMware Tools. The first is what someone declared when the VM was created. The second is what’s actually running, as reported from inside. When they disagree, someone upgraded the guest and never touched the configuration, or the other way round. Trust the Tools value when it’s there.
Powered-off VMs. Filter on power state. A powered-off VM is either a standby you keep on purpose or something forgotten that still eats storage and sometimes a license. List them and ask, one by one, who owns each.
Old snapshots. Sort vSnapshot by date. A snapshot that’s months old isn’t a safety net anymore. It grows and slows the VM down, and nobody remembers what it was protecting.
VMware Tools. In vTools, look for VMs where Tools aren’t running or are out of date. For those machines the OS information is less reliable, and day-to-day operations are harder.
Host versions. In vHost, note the ESXi versions and look up their end of support. According to endoflife.date (checked on October 29, 2026), ESXi 7.0 reached end of general support on October 2, 2025, and ESXi 8.0 gets there on October 11, 2027. A 7.0 host running production VMs is something to raise this week.
Annotations. The vInfo annotation column is often the only place anyone wrote down what a VM is for or who looks after it. Count the VMs with an empty annotation. That number says a lot about the state of your documentation, and it’s easy to track quarter to quarter.
What RVTools can’t tell you
RVTools has no idea which application a VM serves or which flows leave it. It doesn’t see your physical servers or your AWS and Azure accounts either, and it doesn’t know who owns what. Until it is crossed with that information, the export answers one question and goes back to the file share.
Cross it with the CMDB and the flow matrix
Start with the CMDB or application inventory, matching on VM names. Names are where it gets fiddly: the CMDB has the FQDN (srv-app-01.corp.local), RVTools has the short name, one is upper case and the other isn’t, and sometimes there’s an environment suffix on top. Normalize names before you compare, and keep the list of VMs that don’t match anything. It’s as interesting as the list that does.
Then bring in the flow matrix, matching on the IP addresses from vNetwork. Now you know which machines talk to which, and you can attach a flow to an application.
You’ve now done a reconciliation by hand. It works. The first one takes days, and you start over with the next export.
Drop it into Uncia as it is
Most of our demos start the same way, with a folder of exports like the one in the screenshot below dragged into Uncia, and the RVTools workbook somewhere in the pile. Uncia recognizes the file without any setup. If a column means nothing to it, it suggests a mapping and asks you to confirm it once. It files VMware VMs the same way as Hyper-V, physical servers, or AWS and Azure accounts read with a read-only role. It attaches every OS to its end-of-support date, taken from endoflife.date. And it keeps the trail: every fact about a machine points to the file it came from and that file’s date.
It also tells you what’s missing. Without a CMDB extract it can’t attach VMs to applications, and it says so, along with what that extract would make possible. In many sessions that list turns out more useful than the map, because it tells you what to ask your teams for.
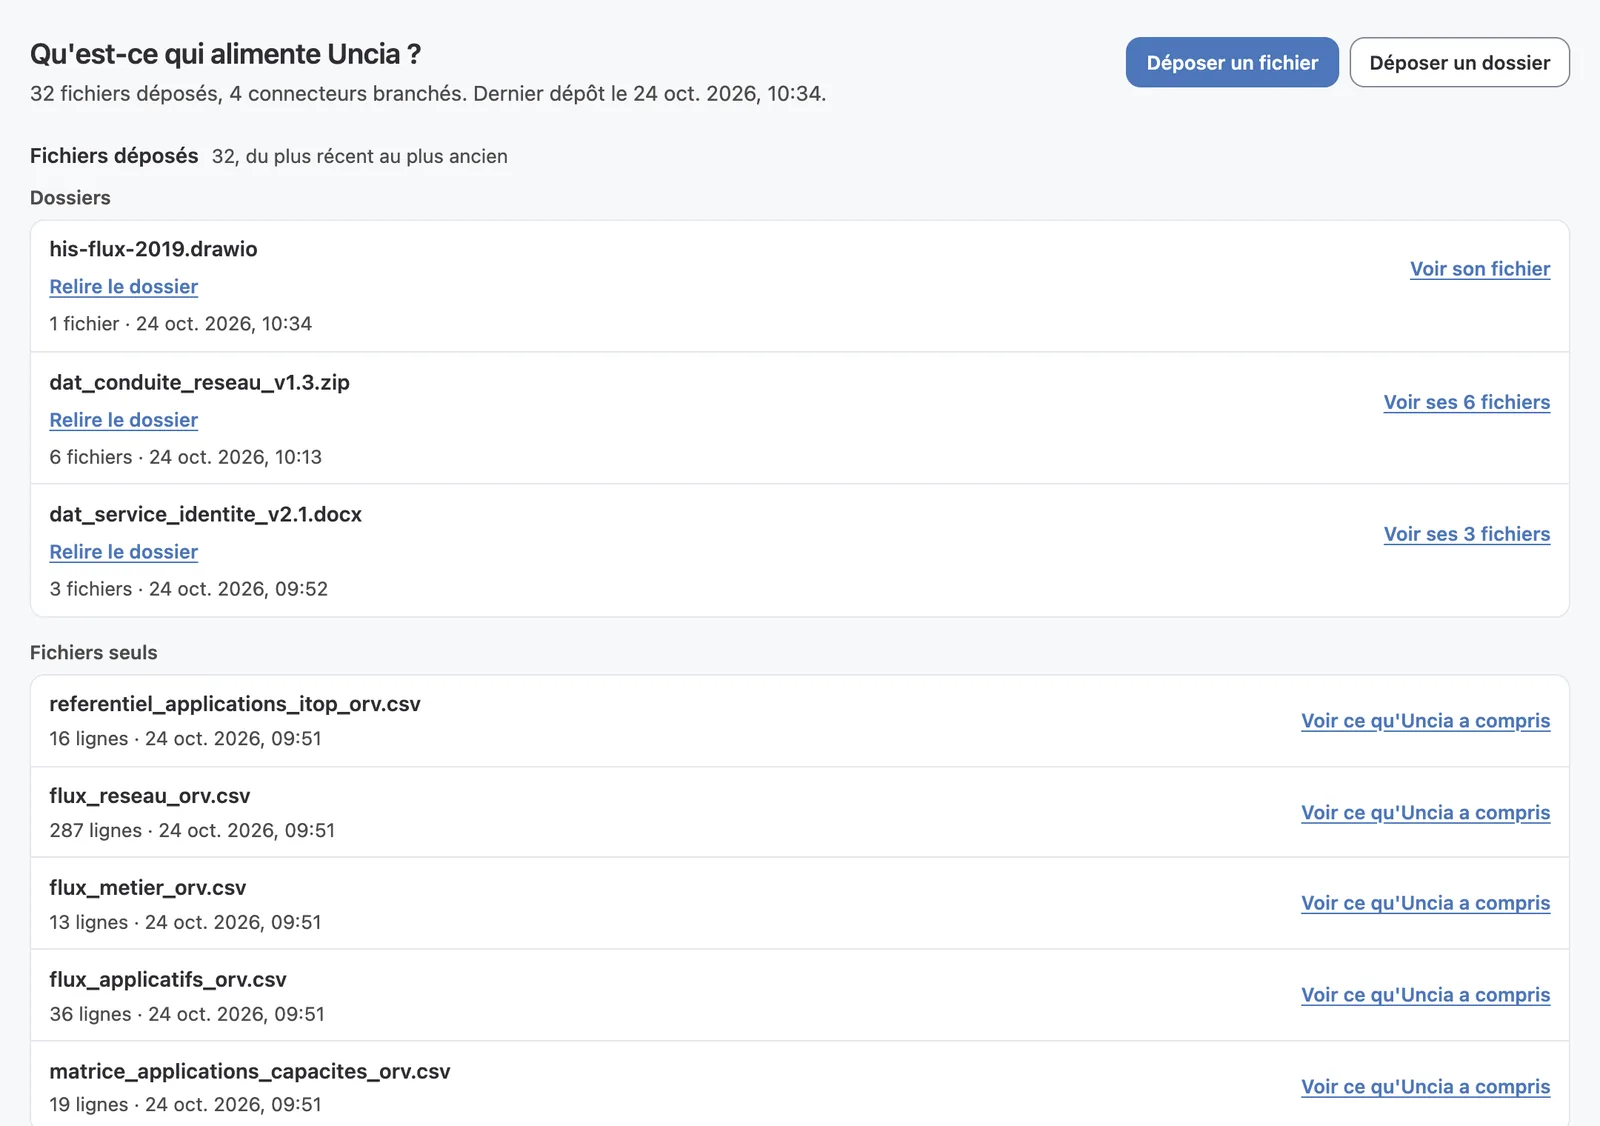
Next time you export, drop in the new file and the picture updates from it, with no re-keying and no integration project.
If you have an RVTools export gathering dust, book 30 minutes and we’ll show you what Uncia gets out of one on our demo dataset. For the full list of files Uncia can read, see working from what you already have. For the next step, see dated end of life across the estate.